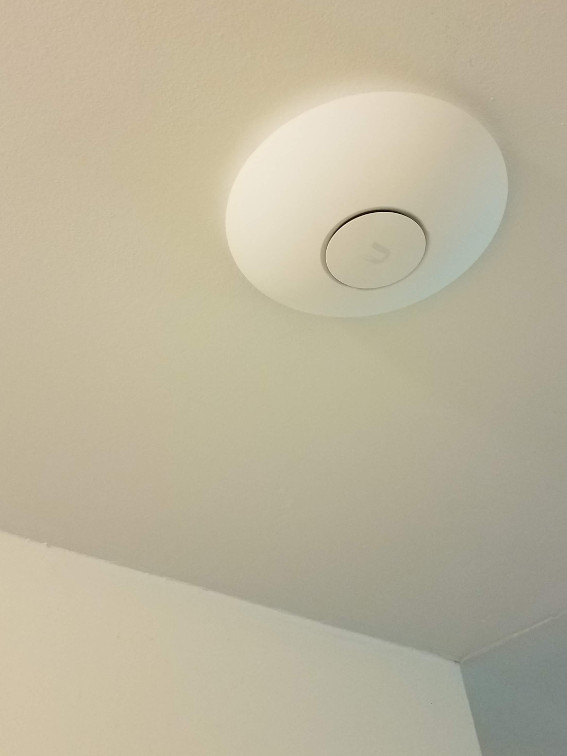
A Ubiquiti wireless access point (WAP) comes with good instructions on how to install in a drop-ceiling tile or on a wall, but most home installations are going to be on drywall. My guess is most installers figure it out pretty quickly, but for those who are like me and would like an example before trying it themselves, here are my steps.
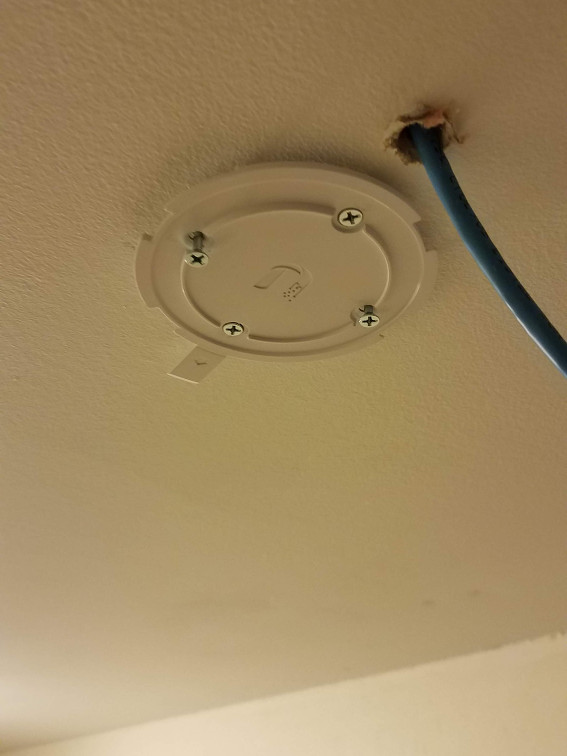
I selected a location in the hallway and marked about center between the walls. I used the mounting plate to make the location of the anchors and then drilled out the four holes. I used 1-inch (25 mm) long #6 screws and #6 plastic drywall anchors.
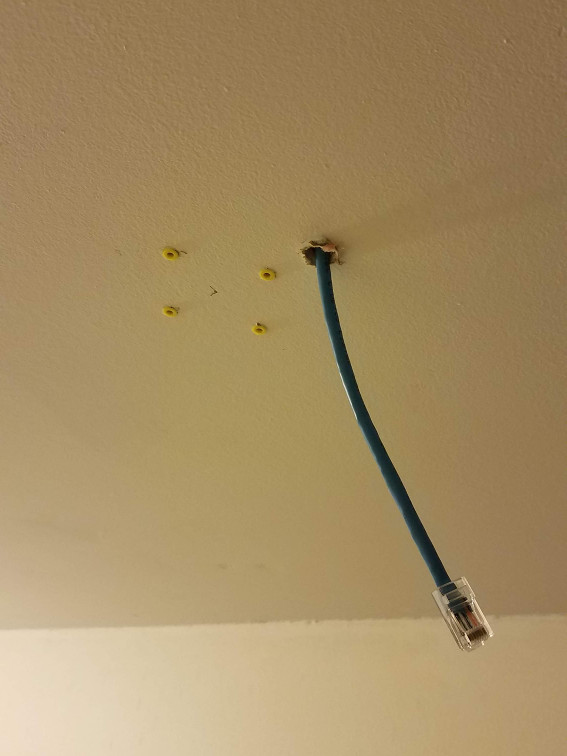
The hole for the network cable is 1 inch (25 mm) away from one of the mounting holes like the instructions specify. I started with a 1/2-inch (12 mm) hole for the Cat 6 cable, but ended up widening one side with a knife so the WAP would lay flat against the ceiling as I latched it to the mounting plate.
I have experimented with other mounting methods, including using the provided bolts and plate that is intended for mounting on ceiling tile. I don’t recommend it, you will end up crawling up in the attic and digging through insulation to attach the tiny nuts to those bolts… completely unnecessary since none of the WAP’s from Ubiquiti exceed the weight limits of these small drywall anchors.